Friday 27 March 2009

D'you wanna see how much I've done so far?


As it was after the big chop...

As it is now, March 2009

Okay, so it's still messy but it is shaping up now. I have hit the serious bramble infested end of the plot. Progress has slowed because of the sheer density and depth of the roots and also the rainy weather. I had a huge pile of weeds that had been drying nicely on a pallet which I joyfully incinerated. It was very cathartic burning all the weeds. 
Contrary to what some think I have dug every square foot of the plot so far - not just where the beds are placed. 

If you need tips about clearing and burning weeds:-
  • I recommend putting the weeds on a pallet rather than into a bag or bin or straight on the ground. This way the air circulates and they dry, as they dry the soil falls off - of course I covered them with plastic when it was going to rain! - well most times!  The first load of weeds I dug up I put in one of those spring-up bins - they are still there, sodden with soil and no good for burning. I shall tip them out onto the pallet the next sunny day I go down and get them dry and ready to burn. 
  • Cover weed piles up when it's really windy or you may upset your neighbours by scattering weeds over their plots.
  • Bonfires on allotments have to be well considered. It's common sense really. I am close to a playground where I take my little under-gardener, so I won't burn when the wind blows in that direction or towards any houses, especially those with open windows!
  • May to September are mostly no no months for fires. 
  • Don't forget November 5th is the best of all days for a blaze!
  • A still day is perfect for burning - but also pretty hard to come by. So I choose a cold and/or spitting day when I wouldn't really want to be outside. 
  • Weekdays are better than weekends as less people are at home enjoying their own gardens. 
  • My top tip is get the fire hot hot hot. It smokes much less the hotter it is. Get it started with timber kindling of some sort is good. 
  • Fed it little by little and don't be tempted to stir or poke it as you'll could collapse in necessary air pockets. 
  • Obviously green, wet and soil covered weeds smoke the most so take note of the first tip.
  • Use the ash and feed your beds potash, valuable potassium (K) fertiliser. The perfect cycle of weeds to fertiliser. Bad becomes Good.
New Plan....


I still love growveg.com, I have revised my plan many times....at the moment this is my plan!
Click on it to see it larger.

Wednesday 18 March 2009

Bramble question...

One of the monsters I've evicted.

Now as I understand if I leave even the smallest piece of couch grass in, the rhizome will sprout and more will grow so it's important to carefully get rid of the lot. I assumed that the same is true of the bramble roots. But today a chap at the allotment told me I didn't need to excavate the whole root just the crown part. Is this true?.. have I been burrowing to Australia for nothing? Help me find the definitive answer please. I can't help feel unnerved by leaving some straggley roots behind...

On RHS advice search it says..
In light, workable soils, cut back scrambling stems to around 12in from ground level. Dig out the bramble stump, taking the roots away at the same to time. It is important to remove as much of the below-ground parts as possible, as brambles have the ability to regenerate from below the soil level. Seedlings should be weeded out.
I think - I'm going to have to go back and re-dig ! AND I'm going not always going take advice from know-it-all chaps at the allotment !!

Sunday 15 March 2009

Raspberry replant

Friday saw another long day at the allotment. As well as plenty of digging and some more weed burning, the raspberries were replanted properly, singularly. I have given some of the extra raspberry canes to my sister, to friends and a couple of other allotment holders. My sister in turn has given me two gooseberry standards.
Thanks to my lovely friend who has given up some of her time to help me, the brassica bed and the broad bean bed also got some lime applied to them.

Wednesday 11 March 2009

I lovage borage xx


I spent nearly seven hours at the allotment today. When I got there it was lovely and quiet, as I got on with jobs I listened to the lovely bird sounds. There was one interesting one which I'm afraid I can't describe but it wasn't long until I spotted the green woodpecker that was making it. I had a real moment of feeling so perfectly contented which was made even better by glorious sunshine coming out too. Aaah!

I didn't deal with the raspberries as I said I would. But I did consider my options.

Meanwhile I weeded the beds. I made hoops to hold up the enviromesh above the carrots, brassicas and the broad beans. I'm very pleased with them. I sowed two rows of early Nantes carrots. I also sowed borage and lovage in the brassica bed. The lovage won't stay there as I becomes a large plant, I'm just starting it there - finger crossed it germinates. Lovage is a great habitat for ground beetles and slugs hate ground beetles - yippee!
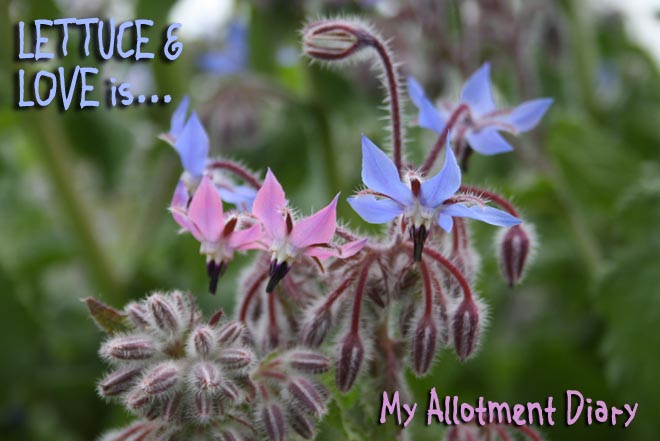
I'm really into the whole companion planting thing so the lovage and borage are part of my masterplan. Borage is a companion to most plants. Apparently detering cabbage worms and attracting bees. Borage adds trace minerals to the soil, can be used as a mulch; if grown near will enhance the flavour of strawberries and improve tomatoes' resistance to disease. If that wasn't enough the pretty flowers are edible and the leaves contain vitamin C, potassium, calcium and mineral salts!

Tuesday 10 March 2009

Thank you Monty

I have just watched a 'How to' plant raspberries video on bbc.com and my questions are answered - Thank you Monty, for making it so clear for me.
Tomorrow I shall go and sort out the raspberries. 

So, one learns from one's mistakes!

Hopefully I've caught this one early enough to rectify in time. It appears that I should have split up the canes of my raspberries before I planted them. This is not explained on the labels of any of the plants. I shall be working on my solution at once and get back to you then. I guess I was confused by the fact they were potted and not bare-rooted... and by the diagrams of the scottish stool system...Oh  - I'll be back!

Monday 2 March 2009

With a little help from a friend...


... the raspberries are planted.

It's always good to share a special moment with someone, especially if they happen to bring a confident approach to the whole affair. (- thank you, you know who you are)
Hoping that once planted the raspberries will be there for 10 years or so I wanted to be sure to give them the best start I could, so I'd been cross referencing planting techniques. Raspberry roots are shallow, perhaps only about 4'' deep I needed to get the right organic fertiliser. One kind, fellow plot holder had lent me a book which advised using nitro-chalk - but apparently this is quite industrial and not readily available from garden centres. Other books advise bone meal but I didn't want to use that knowing how the foxes love to dig it up. So my dear friend got a recommended organic fertiliser which we used as well as digging in well rotted stable manure.
I have planted three summer fruiting varieties; Glen Moy, Glen Prosen and Glen Ample and three autumn fruiting - all Autumn Bliss. I understand the autumn varieties are easiest to grow as the canes can be cut to the ground in late winter as the fruit grows on the new seasons growth they also smaller plants and don't really need any support. Whereas the summer varieties grow fruit on the previous years growth, so you only have to cut the canes which have been fruited on, picking the newer canes to tie to supports for the next years fruit. You see it's also complicated to explain. Anyway as we love raspberries in this house I want to have the longest possible season therefore buying both summer and autumn varieties. All four varieties carry the prestigious Award of Garden Merit (AGM).